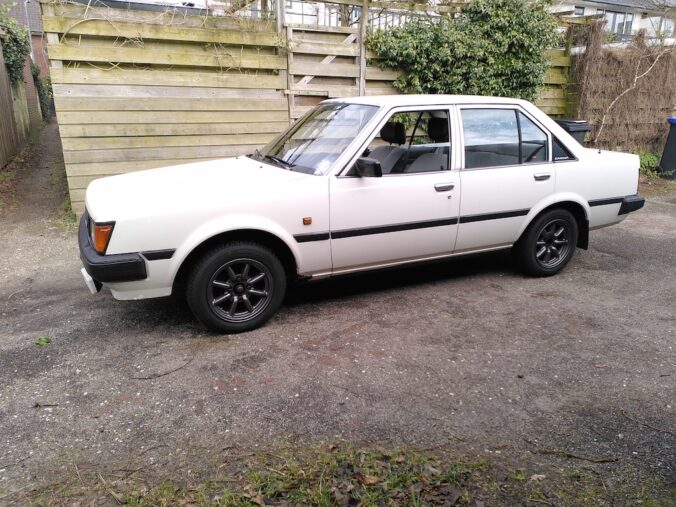
This already happened a few weeks ago, but I have done some work on my Carina. The most important update was replacing the Celica Supra rims with a set of Black Racing rims. In addition to that, I finally installed a fuel pressure regulator to, hopefully, fix some rough idling of the 2T.
Fitting Black Racing rims (Watanabe knock-offs) on my Carina TA60
Watanabe knock-offs
I refurbished these Watanabe knock-offs last year by sanding them down and painting them with a rattle can. I can’t say it’s perfect, but they do look heaps better than they used to. The black paint on them was fading and they were in desperate need of new tires.
It has been too long since I wrote an update about my Carina. The sad truth is that it’s still in the same state with an engine that runs roughly when idling. I did find a fuel pressure regulator, but it turned out to be one for fuel injection. That means it works differently and I need to find another one suitable for carburettors.
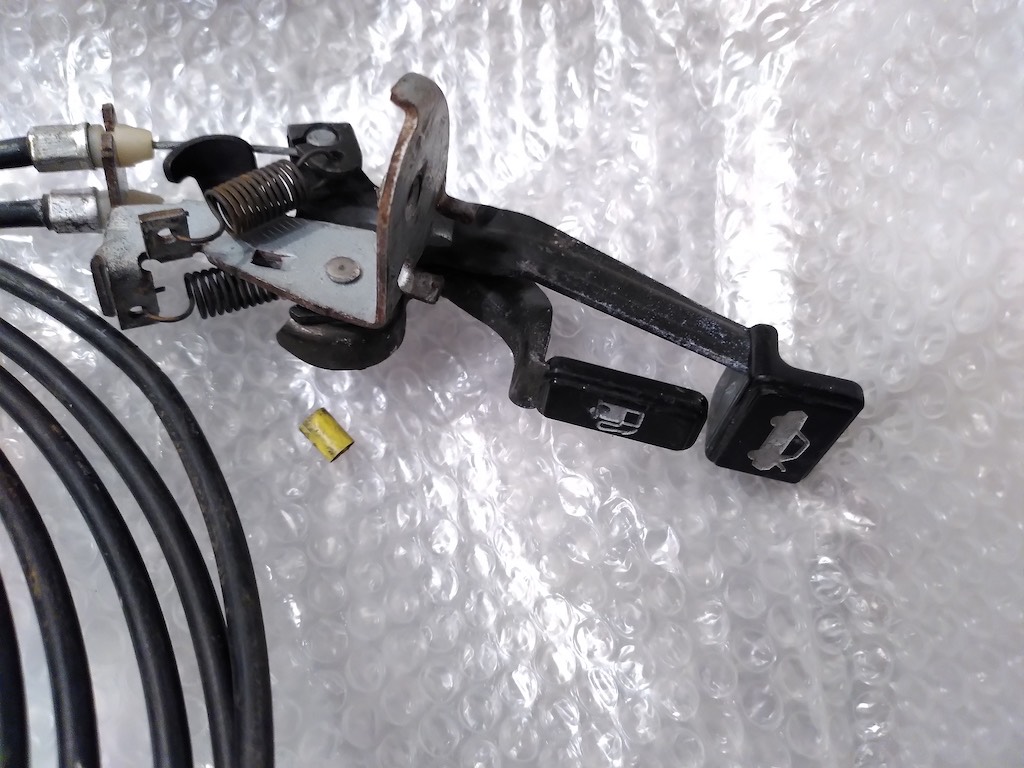
Toyota Carina fuel door and boot lid release handles
I have a lever under my seat that releases the fuel door lock without me having to open it myself with a key. When I refuelled the car the last time, the cable broke and I couldn’t open it anymore and I had to use the key. I have been on the lookout for a replacement since.
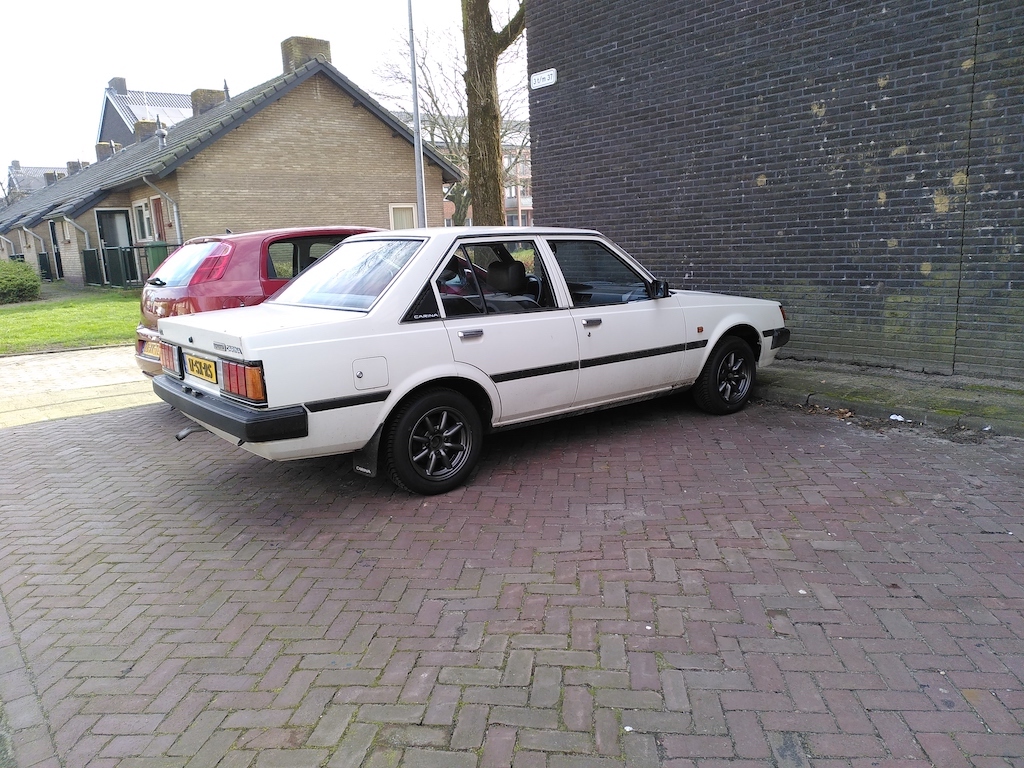
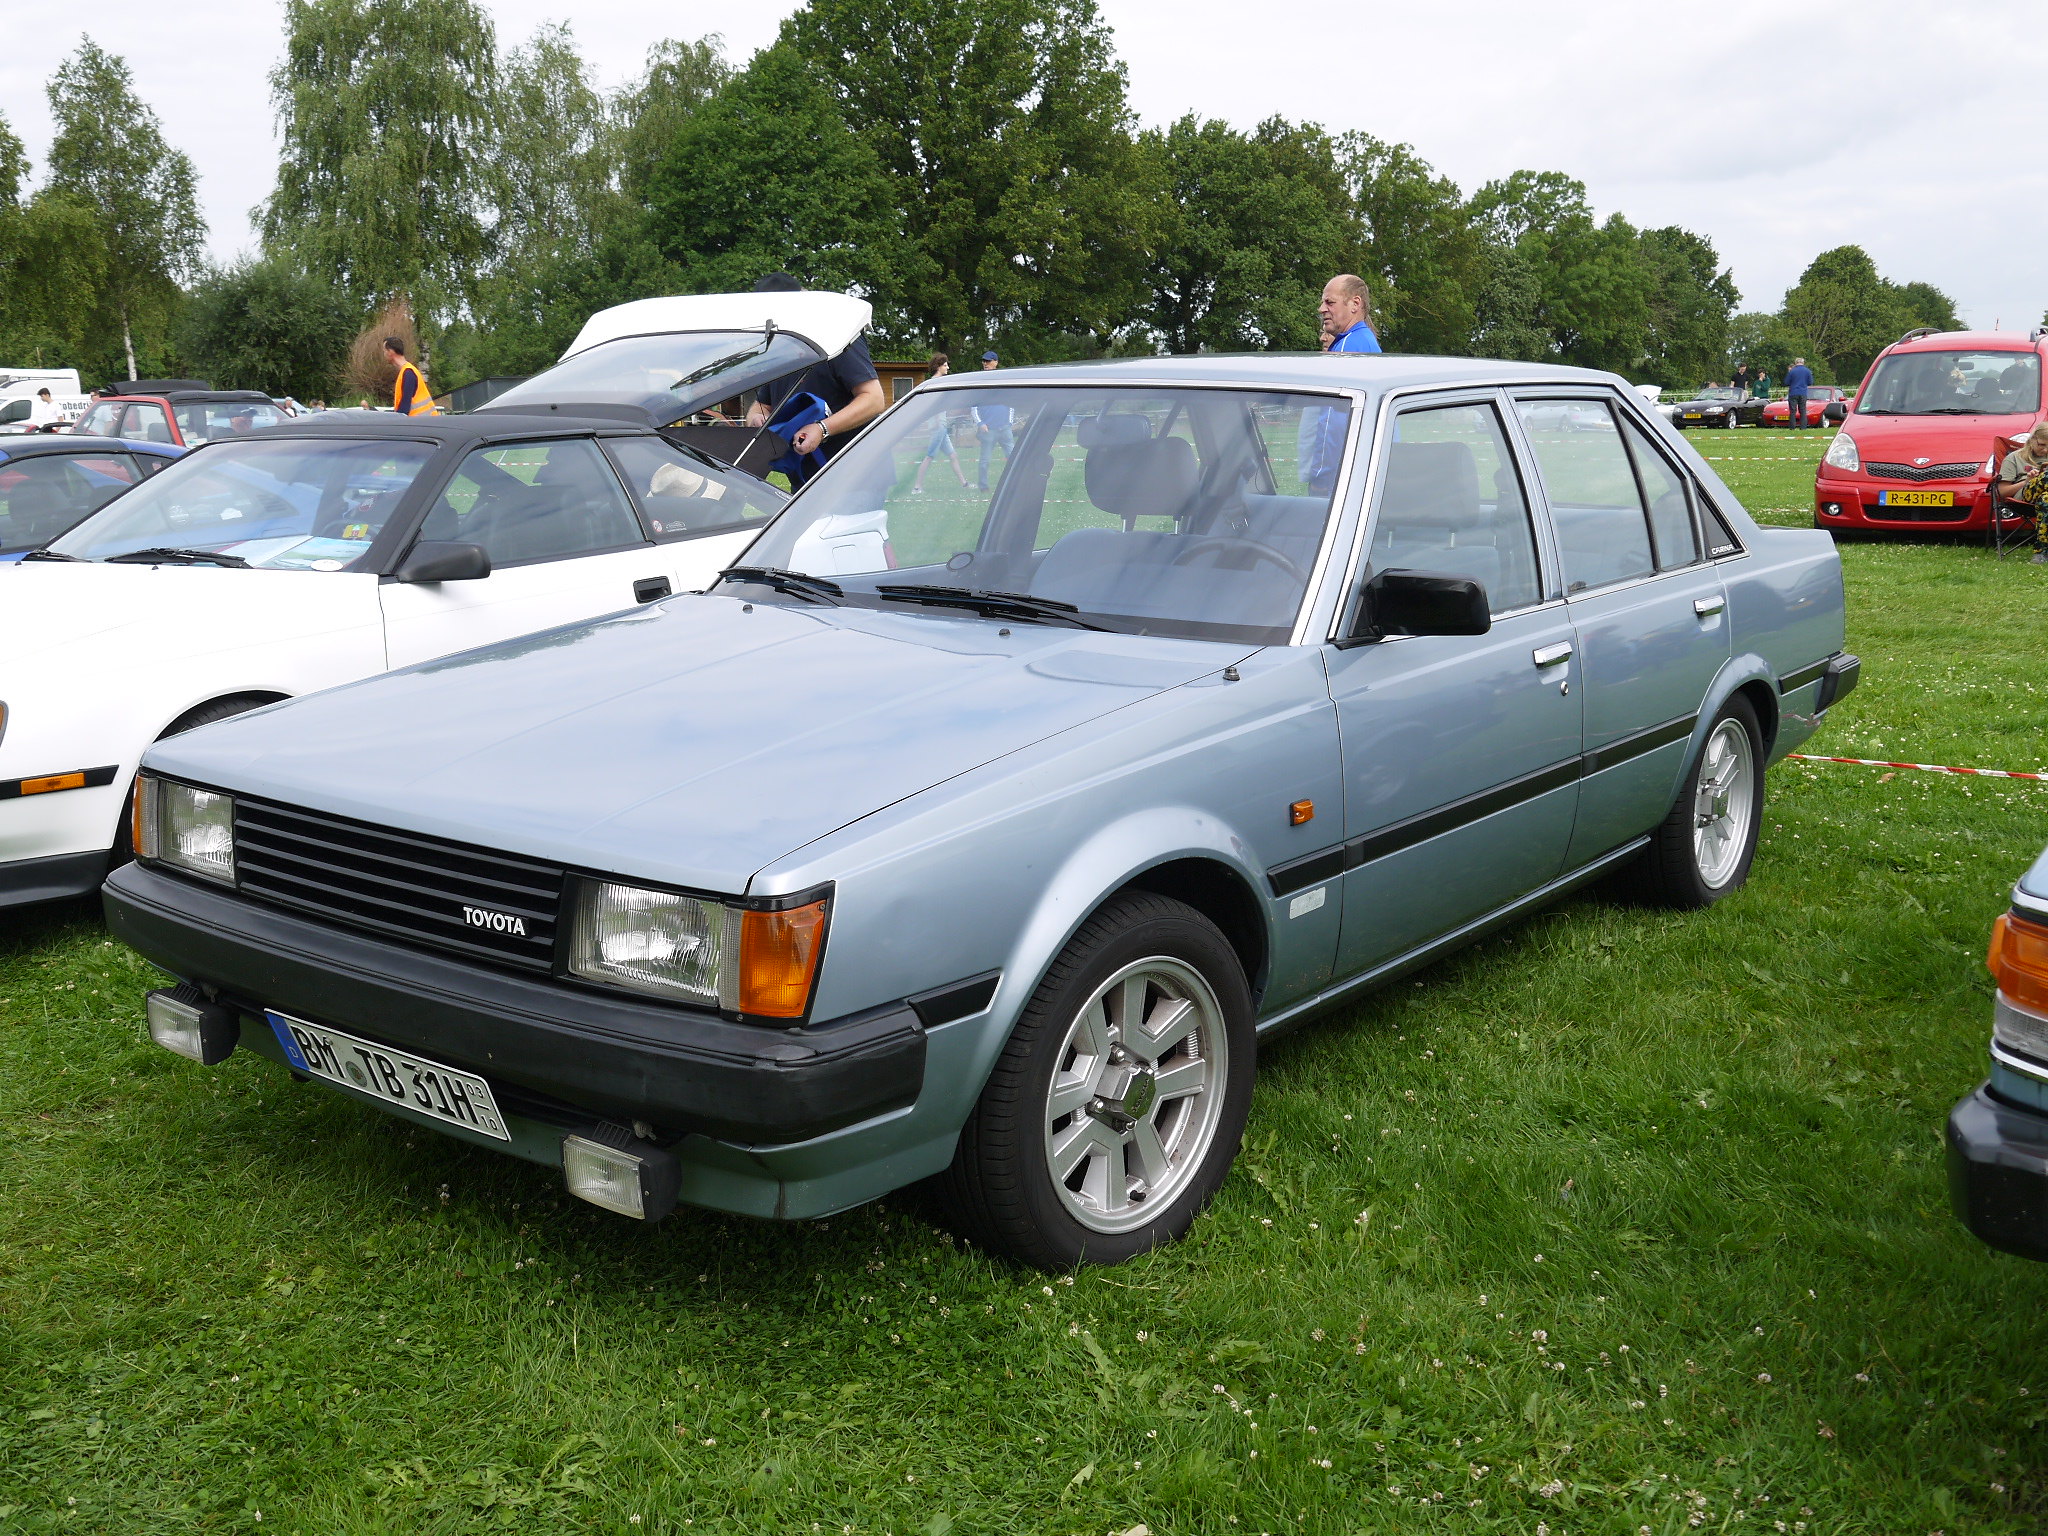
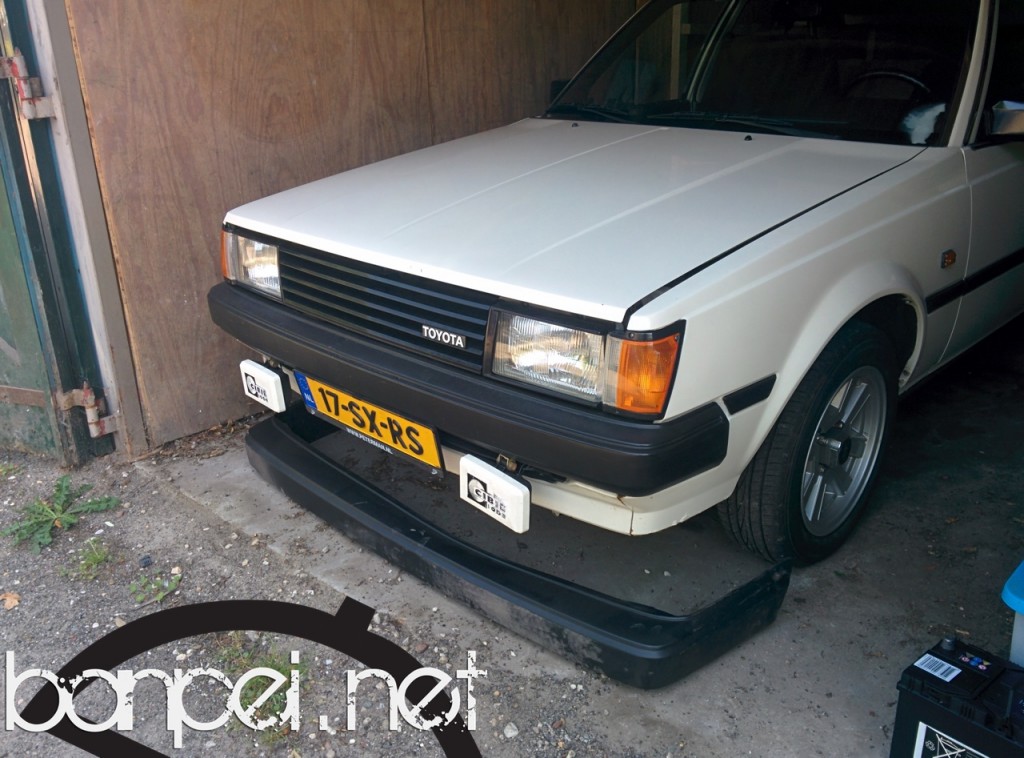
My Toyota Carina TA60 isn’t unique by itself. But over the years I have tweaked it a bit to my own liking by adding fog lights at the front, 15 inch Celica Supra rims all around and a few more bits and pieces as well. I was browsing earlier today through some photos taken by Eelco at the Japan Classic Sunday 2023 earlier this year. All of a sudden I spotted my very own Carina TA60, but then in blue instead of white!
Actually this is a big Toyota Carina update! The title is an understatement and was a bit of irony as there has a lot happened in the past few years. I should first briefly explain the the things that happened and go into those things later in depth in additional posts. So what happened to my plans to swap in the bits of a Celica AA63? What happened to the JDM front?
What happened to the Toyota Carina?
I think I dropped off in November 2014 with updating on the Toyota Carina right when I installed a set of Celica Supra seats and mid-2015 I bought a JDM Carina bumper that was wrongly delivered into the Netherlands. The latter story I posted in a vlog, but as the video has since disappeared I also removed the blog post here.
The JDM Carina GT bumper I bought in 2014
Due to circumstances the Carina was used less and less frequent. This caused the left front brake pads to get stuck in 2017. I noticed this due to the smell of overheated pads while driving in traffic jam. I quickly left the highway, but strangely the problem disappeared before I could diagnose it. Maybe they got unstuck once the pads cooled down enough. Take notice of this.
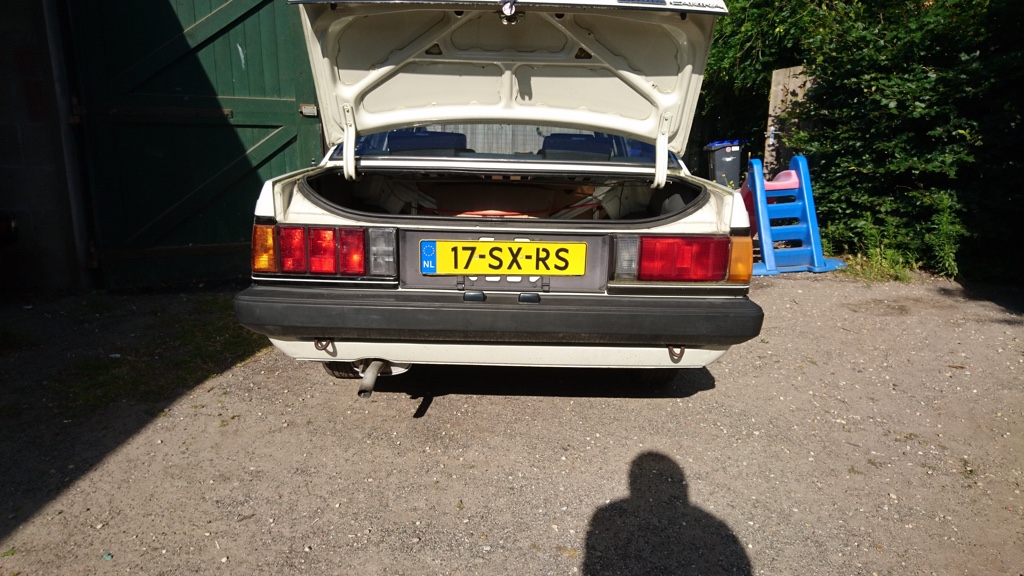
In 2019 I de-JDM-ized the rear tail lights by installing NOS European units to make the Carina pass APK inspection (the Dutch MOT equivalent which I will name MOT from now on) and stored them in my attic to be repaired. This will get its own follow up series of posts as I want to install them on the Carina once more.
De-JDM-izing my Toyota Carina, left European and right JDM tail lights
Brake pads overheat once more
In late 2019 I also made a short trip to the Utrecht office of the company I used to work for back then. During this trip I suffered once again from a stuck front brake pad. However, this time the brake fluid started to boil and I had to make an emergency stop using the handbrake. As you can understand this was a bit freighting and sketchy. The ANWB (Dutch roadside assistance) helped me out and fixed it temporarily. A rebuild of the front disk brakes was necessary, so I put the Carina back into the garage with the intention to fix it early 2020. As we all know 2020 was a very interesting year and the Carina remained parked in the garage including the majority of 2021.
The second time the brake pads got stuck on my Toyota Carina
Sourcing brake caliper rebuild sets
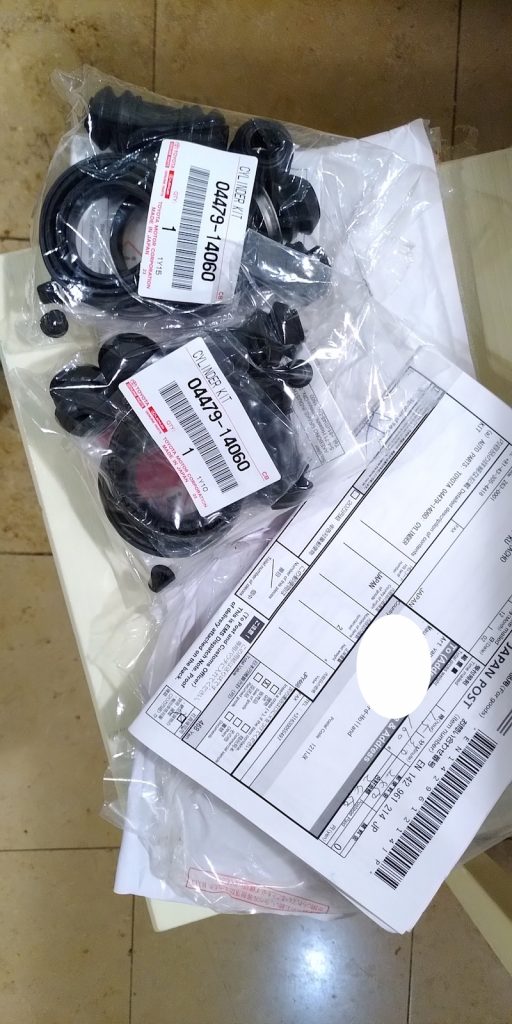
In 2021 the MOT would expire as it is a bi-annual check. This meant I had to do something about the stuck break pad issue and decided to go for a rebuild. I made a call to the local Toyota dealer (it was amidst a lockdown, so I couldn’t visit them in person) to order a rebuild set. Then I was told one such set would cost 80 euros and I would need two of them as I would need one per caliper.
I tried sourcing the same two sets and found Amayama offered it including EMS air shipping for the same price of a single set at the local Toyota dealer. Normally I would rather get it from the Toyota dealer, but 80 euros is a lot of money and I opted for Amayama instead. Unfortunately Amayama sent the package to the wrong customer in Miami. Amiyama had to source the kits once more and the second package only arrived in early December. That meant I had to de-register the Carina as it clearly wouldn’t pass the MOT test before expiry of its current MOT. When they did arrive, it turned out the rebuild kit was actually meant for both sides.
Rebuild kits for the Toyota Carina brake calipers finally arrived in December
Life happens
Then life happened end of 2021: my dad got hospitalized and I lost my dad early 2022. Devastated about this loss and also partly the anger due to some not-so-well-arrangements-by-my-dad I decided it was time to sell the Carina. Let it go. Get something else instead. Something that wouldn’t remind me of my dad. So I decided to fix it up, pass MOT and then sell it.
Trying to pass MOT attempts #1 and #2
I set to work: rebuilt the brakes, replaced filters and fluids, fixed minor issues like worn wiper blades. By the end of 2022 I was done with the repairs. However, the Carina didn’t manage to pass the MOT test: brake balance was incorrect, headlights were misaligned (how did that happen?), exhaust was leaking and the rear brake lines had rust on them. I rebuilt the left brake once more. Fixed the headlight alignment. Patched up the exhaust with putty and removed the rust from the rear brake lines. Went for the test once more and now tester refused to test the car as the brake pedal didn’t have any feel in it. Apparently some air bubbles were present in the brake lines. I was so angry that I threw the towel in the ring and decided to try once more early 2023.
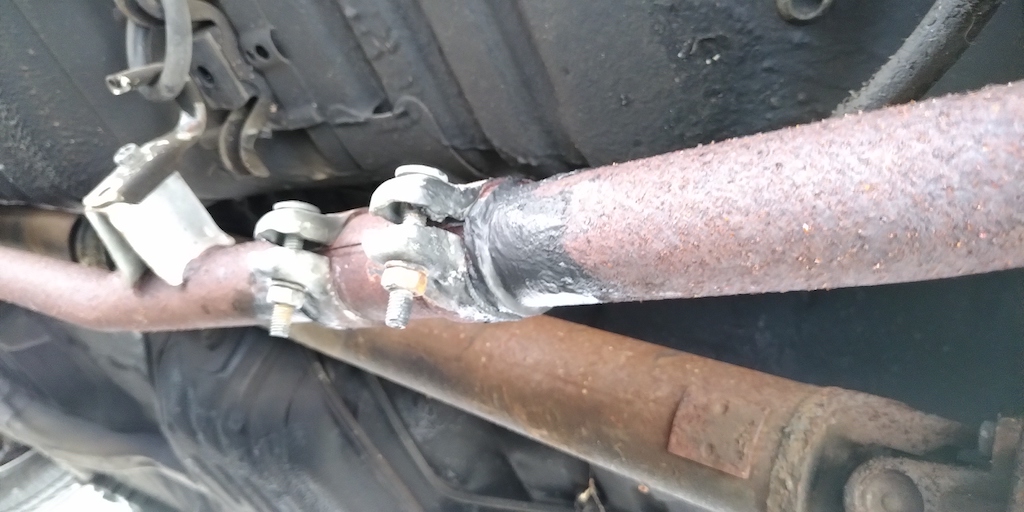
Patching up the exhaust with some putty
Trying to pass MOT attempt #3
Early May 2023 I put the Toyota Carina for sale. It had no MOT as an oldtimer gathering would happen in my hometown and I had to wait at least 3 weeks for the first available spot. However, I already wanted to drum up interest for the sale as I estimated it probably would take a few months to sell. So I put the Carina for sale without MOT. Against expectations it quickly gained a lot of interest and my inbox flooded with various messages. One person visited me to view the car and he was interested to buy. We agreed he would test drive the Carina once it had MOT. The week after the Carina was able to pass MOT without a problem, however I was still not satisfied with the performance of the brakes. I once more invested time and finally found the issue!
Still not satisfied with the brakes
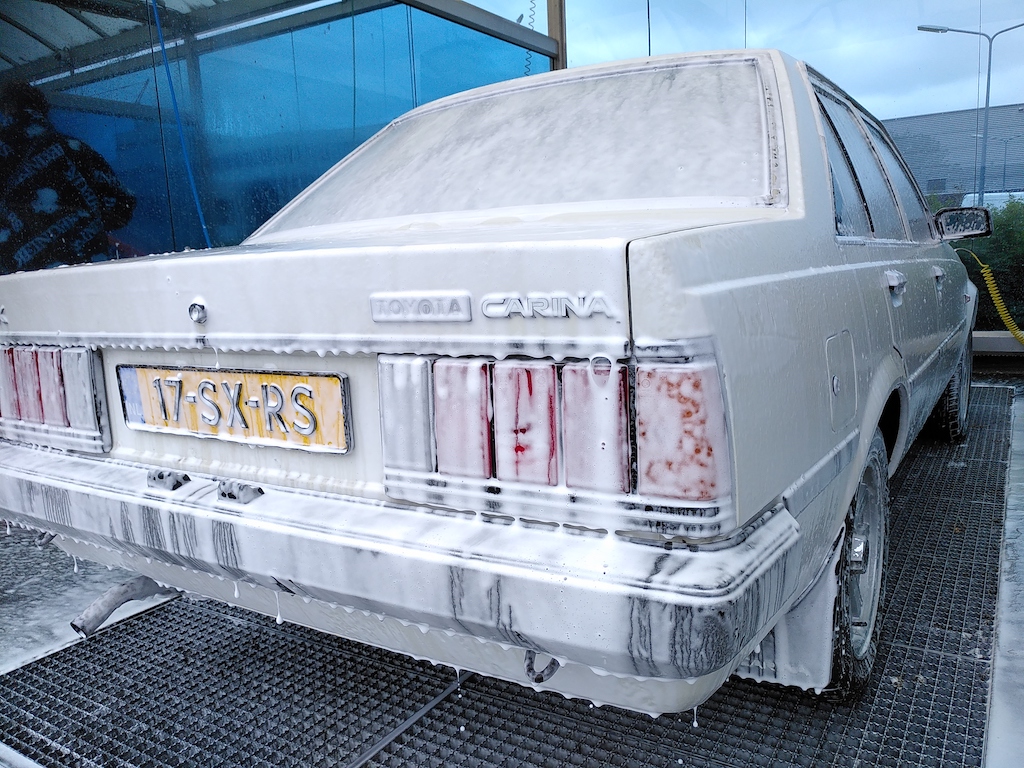
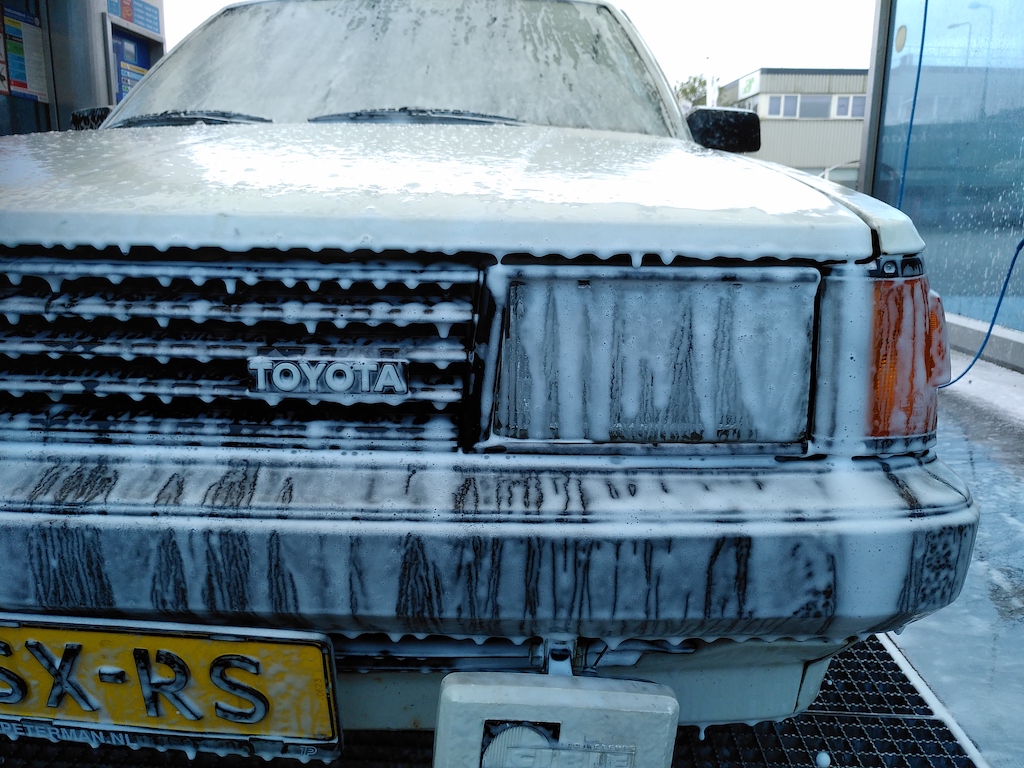
The problem is that my bleeding nipples are old and don’t seal 100% when I undid them. I was pulling the brake fluid through the caliper with a vacuum system. In the open position, I noticed sometimes a few small bubbles appeared and I would leave it to flush everything out. However, apparently it always happened when the nipples were almost in the closed position. So, when I close the bleeding nipple it would draw in a small bubble of air into the system. I removed the nipples, put some thick grease on them and inserted them back in again and the problem was solved. In preparation I washed the car thoroughly. I also filled up the tank with 20 liters of premium Euro 98 (contains less than 5% of ethanol) to ensure the few remaining liters of old stale petrol wouldn’t be an issue anymore.
First wash of the Carina in 5 years!
Trying to sell the Toyota Carina
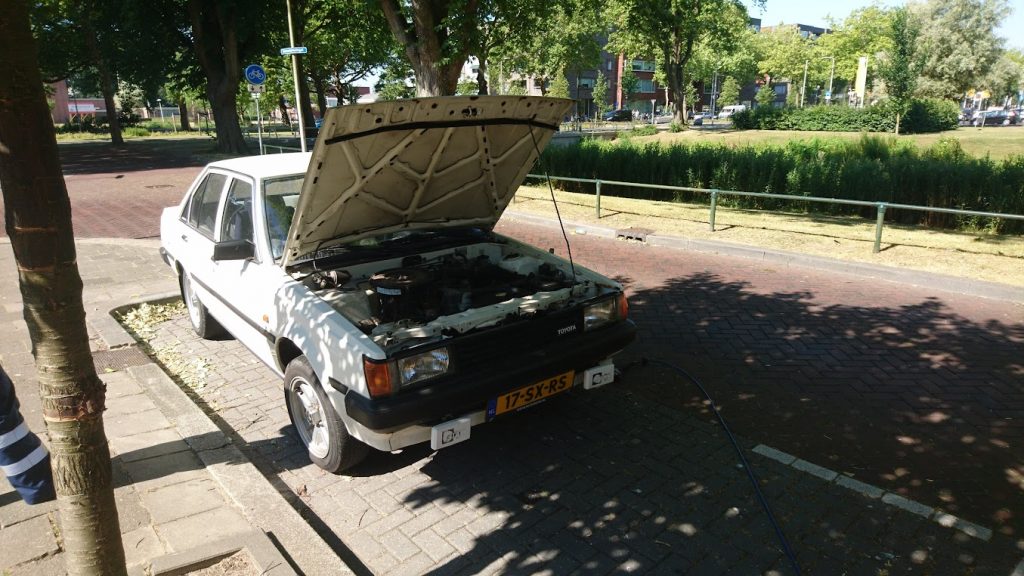
During the weekend after obtaining MOT the test drive with the prospect buyer took place. At first everything went smooth: the Carina started up fine. The prospect buyer took the wheel and we set off for the test drive. I told him just to take it easy, drive around town, drive up the highway, exit on the next offramp and then return home via a couple of B-roads. We drove around town, took the highway and then at the next offramp the engine stalled.
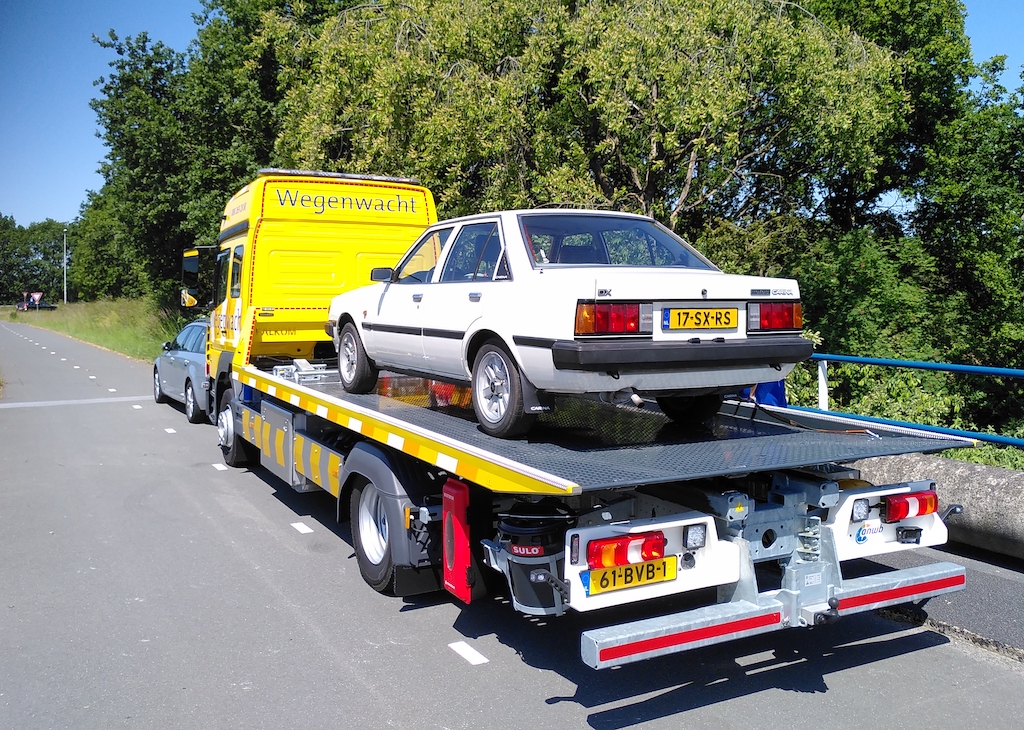
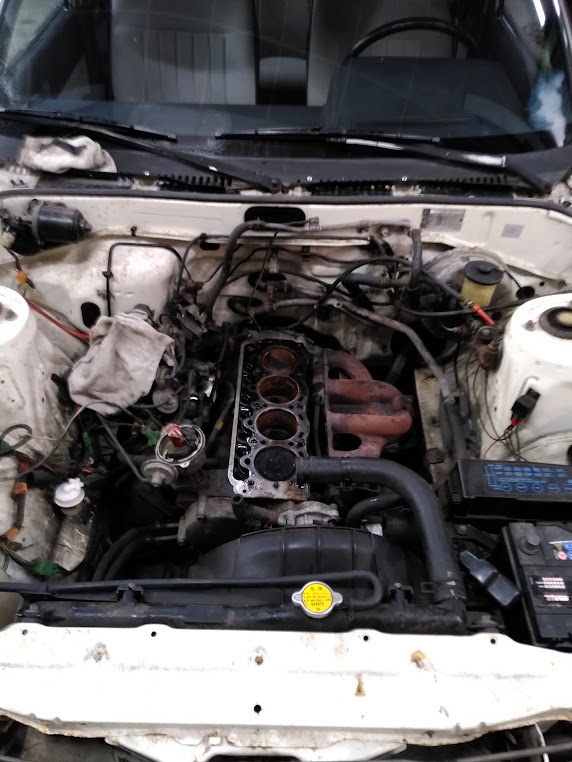
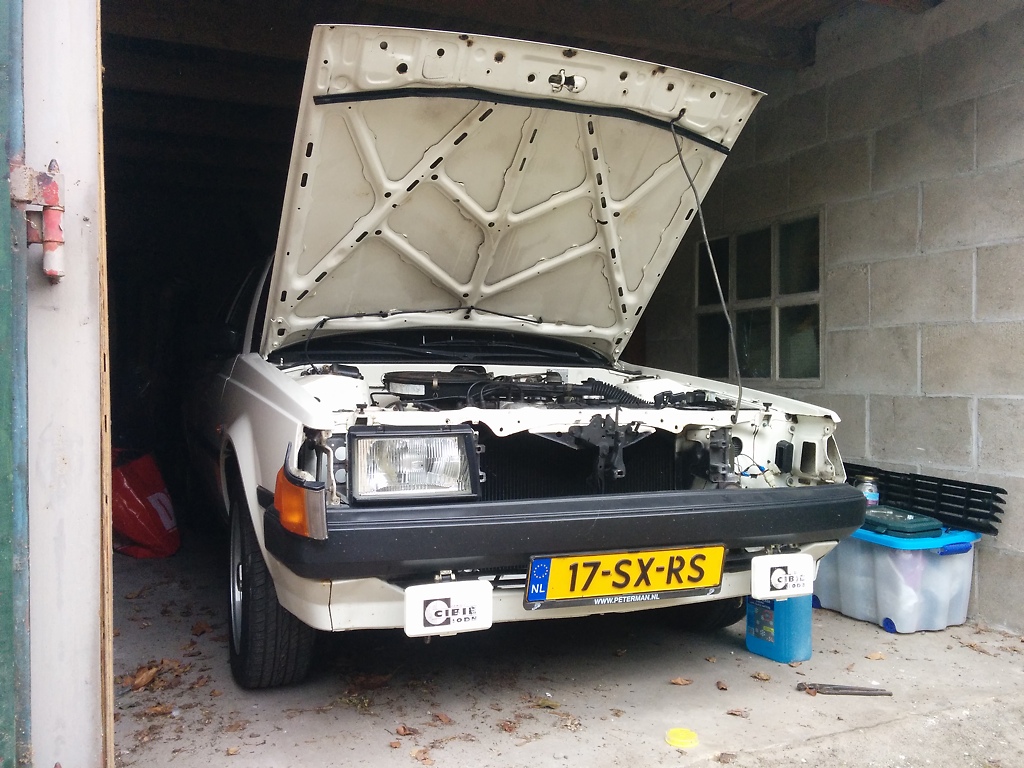
The engine wouldn’t start and when I looked at the dashboard my heart sank: the temperature needle was even beyond the red-zone. The engine had overheated for an unknow reason. We called the ANWB and after 30 minutes they arrived. They suspected a head gasket failure. The ANWB tried to revive the engine by filling it with fresh coolant and K-Seal, but it was too far gone. The Carina ended up being brought back home on top of a flatbed truck.
My Carina returns home on a flatbed truck
A simple engine repair job
On Monday I headed out to the oldtimer workshop nearest to my garage and made arrangements to get the headgasket fixed. It wouldn’t be cheap, but the repair job would be straightforward. The mechanic was a bit skeptical and warned me the head probably would be warped and possibly cracked. So he asked me to try and source a replacement head if possible. The mechanic set to work and by the end of the week he called me with some bad news: the head was cracked and the radiator was leaking. The latter was probably the cause for coolant loss. This was causing the engine to overheat, blow the head gasket and then fail entirely. This was a good lesson that MOT doesn’t mean the car is in good condition. If a car without coolant can pass MOT, it means they only check for what is required and not anything else.
Shopping list
So now a replacement head and radiator were on my shopping list. The next week my mechanic called me back: he double checked the engine block and found out that it had warped as well. He asked me if I could source a replacement engine for a Toyota Carina.
Both the engine block and head turned out to be warped
This made me seriously doubt whether to proceed with repairing the Carina as an engine would be much more expensive. And obviously I had to source one first. This turned out to be an issue and nobody keeps a 2T engine. So in the end I couldn’t find a 2T engine, but I was able to source a replacement 2T-B engine. That’s close enough, but there are a couple of differences: the 2T engine has lower compression than the 2T-B and only features a single carburetor while the 2T-B features them in duplicate. The seller guaranteed it was 100% working when he pulled it out of a Celica. At the same time I could also source a brand new radiator for peanuts. 15 euros of Peanuts that is. So I decided to go ahead, rip out that broken engine and get it replaced with another!
Carina spiraling out of control
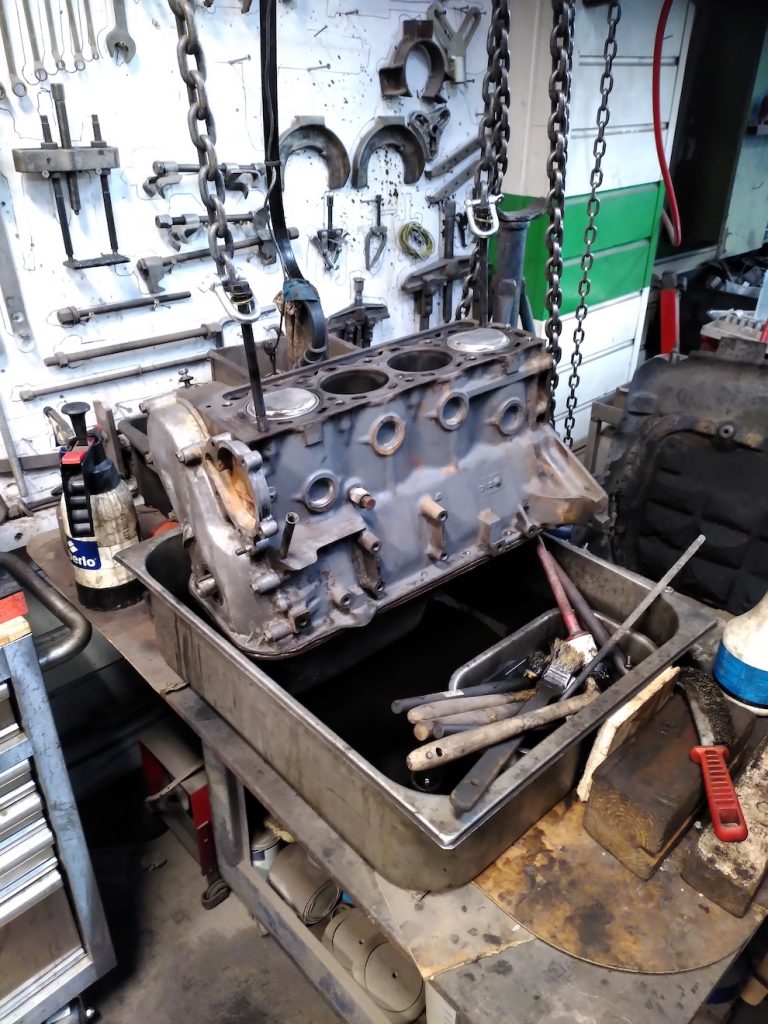
When we picked up the engine, it turned out to be freely moving. Compression of the cylinders was good. There was a little bit of compression deviation between the cylinders, but nothing to worry about. We paid and brought the engine home. When the engine cover was lifted we found a big surprise: oil sludge everywhere! It looked like as if someone forgot to drain the engine oil and had been topping up the engine for over 10 years!
We found thick oil sludge everywhere in this replacement 2T-B engine!
Cleaning up the sludge
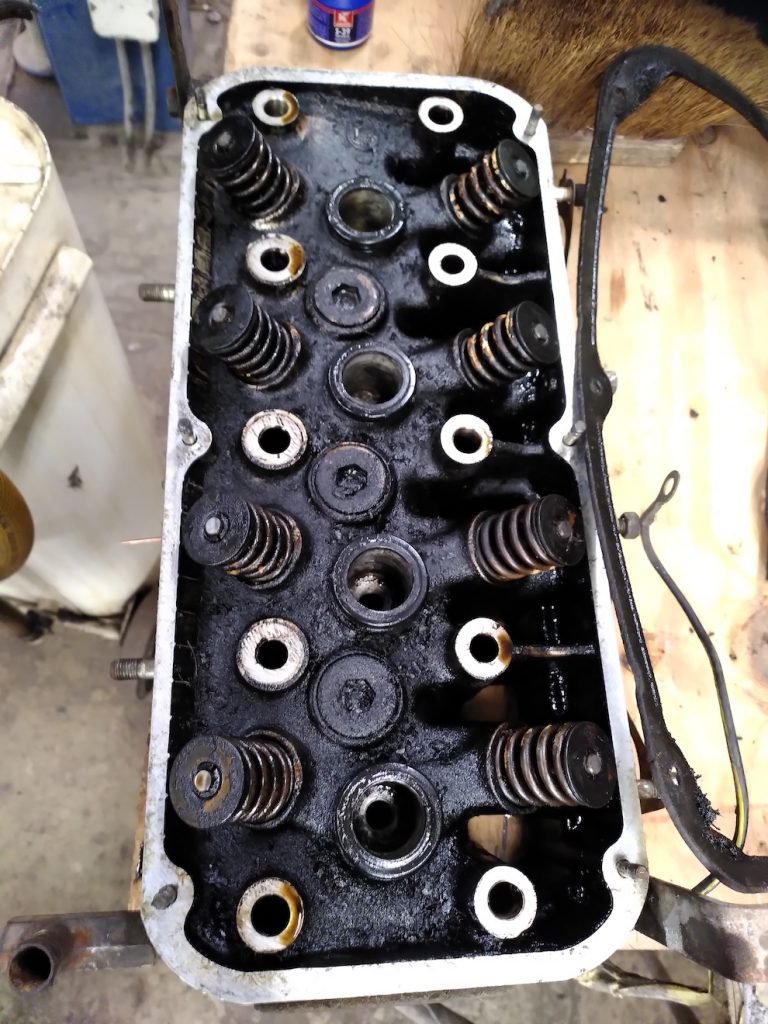
Luckily once the engine was cleaned it turned out to be in far better condition than mine was before the headgasket blew. There was little to no scoring on the cylinder walls, the head was in very good condition and the cam had little to no wear. Regardless of its looks, this was a true unstressed engine. So never judge an engine by its looks!
The cleaned up 2T-B engine turned out to be in excellent condition
Happy or unhappy with the repair?
I was very happy and relieved when the rebuilt engine finally was dropped back into the Carina. Naturally I was a bit less happy with the bill for the entire rebuild. If I still wanted to sell the Carina, I could increase the sales prices of the Carina a bit to make up for this loss. However, this couldn’t be done for the entire bill. If I would do that, the Carina would be way too expensive for what it is currently. There is rust on the fenders, there is rust on the inside of the front doors and there is de-lamination on the windscreen. Nobody sane enough would pay a high price for a car in this state.
So it wouldn’t be sales worthy unless I would fix this all up. But if I would do that, that also means I first have to invest even more money without the warranty to find a buyer. So what’s the use of fixing up a car if you’re not even sure you can sell it? The answer to that is: only if you want to keep it! So I made up my mind once more and decided I’ll keep the Carina, fix the rust issues, replace the windscreen and then turn it into a kyusha-kai Carina like I intended all those years ago.
A Toyota Carina GT-R running in the 90s!Will mine finally look like this in the future?
Captain hindsight is always right
In hindsight, I probably better could have sold the Carina with the blown head gasket than go through this whole ordeal. For that price with a bit more cash I also could have swapped in an entire 4A-GE and T50 drivetrain into the Carina. However, I still think I made the right decision. It’s clear the Carina didn’t want me to give up on it. I’ll finally go through with the transformation. I could even make the engine a bit more lively as it’s technically a 2T-B engine with a single carb on top. Besides that, I can always do the 4A-GE swap sometime in the future. The most important part is that it now is mobile again!
So what can you expect from me in the (near) future? First of all in my next post about the Carina I’ll lay down my plans for it. I will also post some parts of the story above with some more juicy details. Finally I’ve already started on repairing the JDM tail lights and I’ll use the blogs to document the technical side of this.
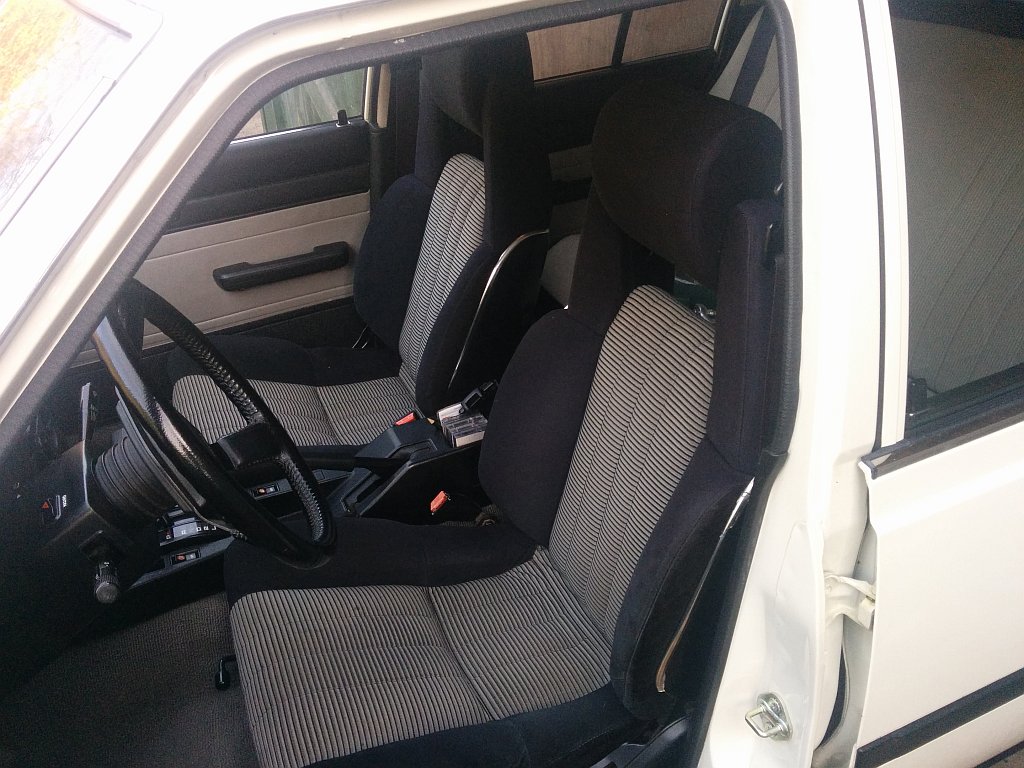
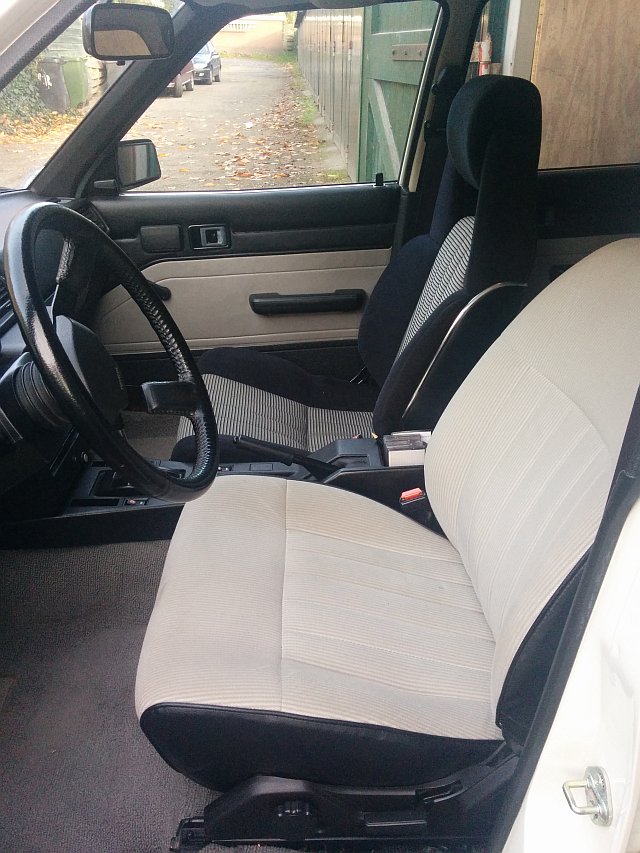
I have always fancied the Toyota Corolla AE86 or Toyota Celica Supra seats as they are quite comfortable for OEM factory seats and still give enough support at the thighs and back when cornering.
In contrast the OEM Toyota Carina TA60 seats feels more like sitting on a buck of a carriage: too high and no support to be expected from any side. I regularly bumped by head against the ceiling if I took a speedbump too fast.
You probably get what I mean if you compare the two different seats with each other: Continue reading
This website uses cookies to improve your experience. We'll assume you're ok with this, but you can opt-out if you wish.AcceptRead More
Privacy & Cookies Policy
Privacy Overview
This website uses cookies to improve your experience while you navigate through the website. Out of these, the cookies that are categorized as necessary are stored on your browser as they are essential for the working of basic functionalities of the website. We also use third-party cookies that help us analyze and understand how you use this website. These cookies will be stored in your browser only with your consent. You also have the option to opt-out of these cookies. But opting out of some of these cookies may affect your browsing experience.
Necessary cookies are absolutely essential for the website to function properly. This category only includes cookies that ensures basic functionalities and security features of the website. These cookies do not store any personal information.
Any cookies that may not be particularly necessary for the website to function and is used specifically to collect user personal data via analytics, ads, other embedded contents are termed as non-necessary cookies. It is mandatory to procure user consent prior to running these cookies on your website.